Onboarding
This section describes how to onboard and get access to the Customer Portal to be able to manage Yubico Products and services for your organization.
Procedure
When your Yubico sales person or a channel partner has issued a purchase order for the desired products and services for your organization, the onboarding procedure starts. This includes setting up accounts for your organization and providing access to the Customer Portal.
When Yubico has received the initial purchase order for your organization, an account is created for your organization and the purchased products and services are added to the account.
When the account is created, an activation email is automatically sent to the email address of the first user added to the organization’s account. This user is automatically assigned the Console Owner role, and is added as a limited access mode user with permissions restricted as follows:
- Cannot ship more than 10 YubiKeys
- Cannot add new Customer Portal users
- Cannot generate API tokens
User permissions remain restricted until the limited access mode user registers a passkey as part of the onboarding. When a passkey has been registered for the account, the user acquires full Customer Portal permissions.
The first Console Owner performs the following actions during their onboarding:
- Activates account and performs initial login to the Customer Portal.
- Verifies the content of the first purchase order (if available).
- Creates an initial shipment request of maximum 10 YubiKeys (optional).
- Registers at least one passkey for their user account to get full feature access.
- Adds more organization users, at least one more Console Owner is recommended.
Note
Ensure your organization has at least two users with the Console Owner role as this is the only role that can perform password and account resets. If your organization only has one Console Owner, and that person locks themselves out or leaves your organization, you must contact Yubico to set up a new Console Owner. See Creating and Removing Users.
Onboarding as First User
To activate your account and onboard as the first Customer Portal user, do the following:
Click the Activate your Customer Portal account link in the activation email you received from Yubico.
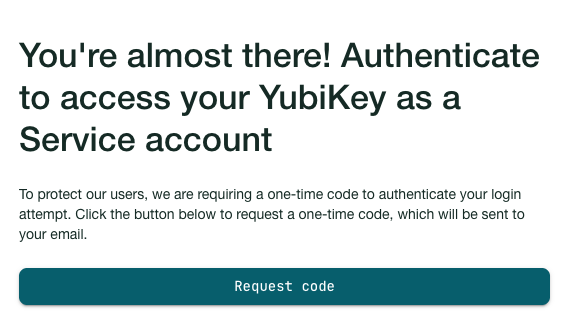
In the authentication dialog that opens, click Request code. A one-time access code is sent to the email address associated with your Customer Portal account.
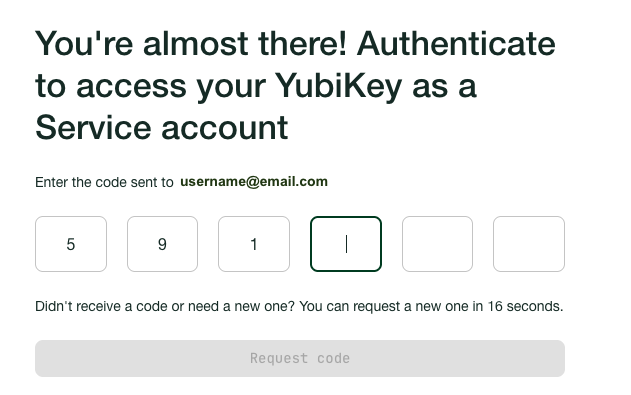
Enter the provided access code in the authentication dialog.
Note
When you submit the one-time code, you have three chances to submit a correct code, otherwise you will be locked out for 15 minutes before you can retry again. The lockout is associated with the invitation, attempting to log in from a different device will not work.
In the YubiKey as a Service Acceptance Use Policy dialog, click I agree to continue.
When successfully logged in you will be taken to the Home page for your organization where you can see your initial purchases and YubiKey license inventories. Since you have not yet registered a YubiKey, you will be notified that you are in “limited access mode” with limited feature access.
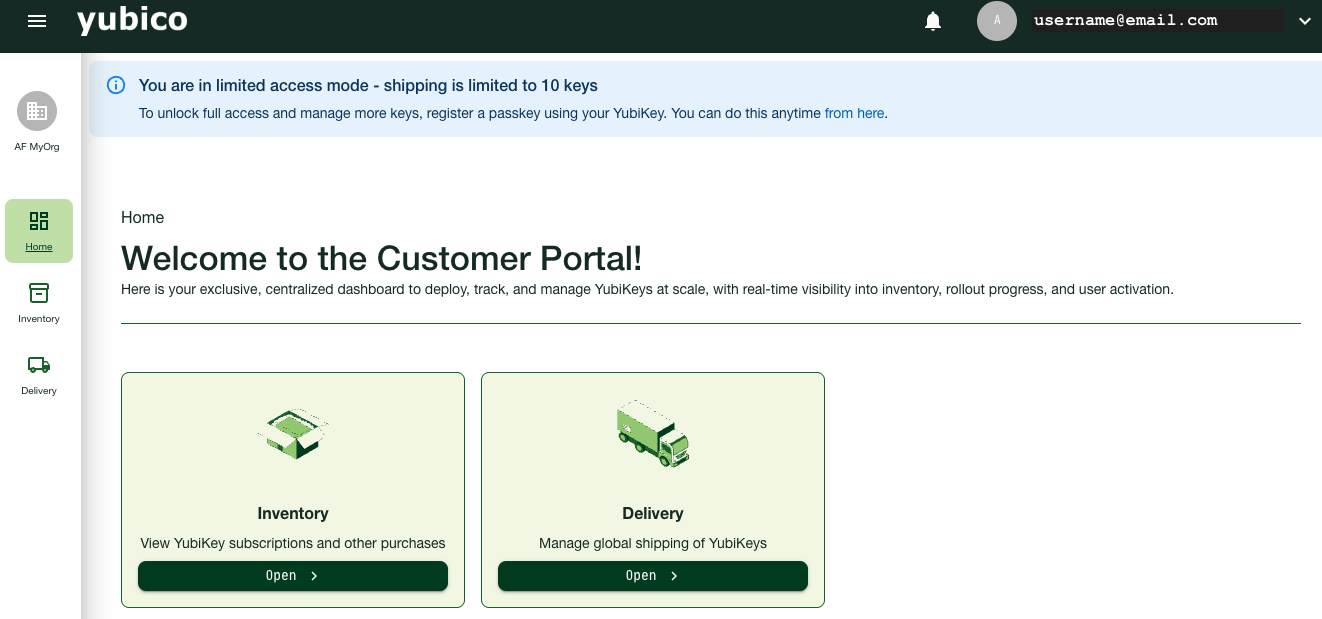
Register at least one YubiKey to get full Customer Portal feature access, if you have a YubiKey available at this point. If you do not have a YubiKey, you can still order up to 10 keys as a limited access mode user, and register a key when you have one. Continue to step 13 to create an initial shipment request for YubiKeys if you do not have any.
If you have a YubiKey, click the link in the limited access mode message at the top to register a passkey on your YubiKey. In the dialog that opens, click Create Passkey.
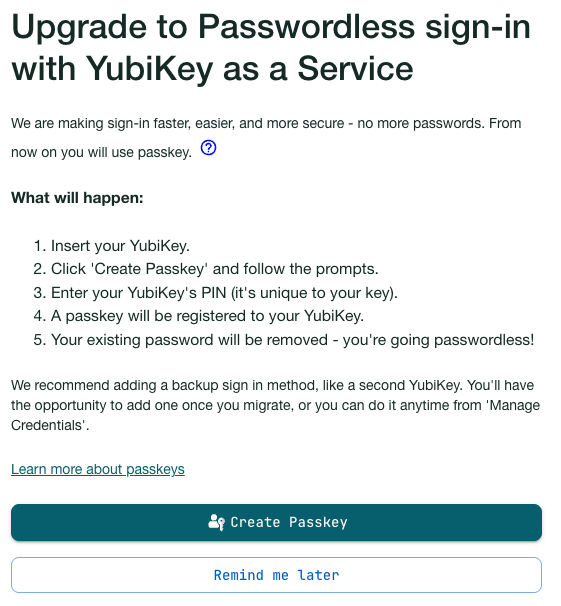
When prompted, tap your YubiKey and provide the PIN associated with the YubiKey.
A passkey is created on the YubiKey, and a passkey confirmation dialog is displayed. A notification with details about the registered YubiKey is sent to the email address associated with your Customer Portal account.
It is recommended that you register an additional YubiKey as a backup to avoid losing access to the Customer Portal. This can be done at any time. Click Yes, create another to register a spare YubiKey and follow the instructions. Click No, I’m done for now to continue without registering a spare key.
- When you have registered a YubiKey, you will be prompted to log out and in again using the YubiKey. In the Welcome to the Customer Portal dialog, click Sign in with Passkey, tap your YubiKey, enter the PIN, and tap your YubiKey again to log in.
- When you have registered at least one YubiKey you will get full feature access.
- Create a first shipment request. For more information on how to create a shipment request, see Requesting Shipments. If you did not yet register a YubiKey, you have the option as limited access mode user to request a shipment of up to 10 keys for yourself and other users in your organization. When you have a YubiKey available, follow the steps in the Customer Portal login dialog to log in with passkey and gain full feature access, see steps 8-11.
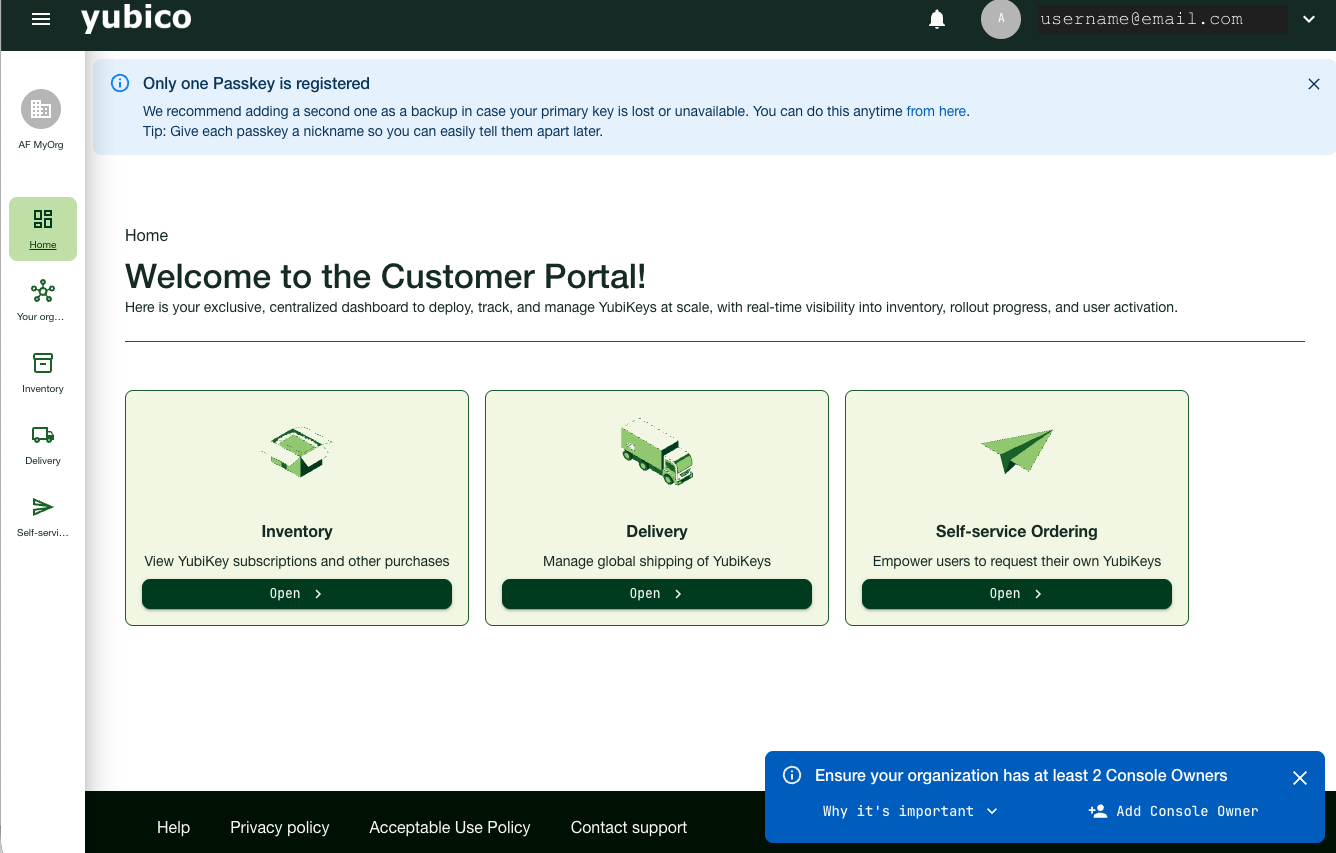
- Add an additional Console Owner for your organization, if not already done (you must first have registered a YubiKey to be able to do this). It is recommended to have at least two users with the Console Owner role. Click Add Console Owner in the notification message at the bottom right of the page.
- Add more Customer Portal users as needed for your organization, for example IT administrators that will be managing shipment requests, or API integration user accounts. For more information, see Roles and Permissions. The system will send activation emails to each new user so they can log in and activate their account as described in Activating User Accounts. New users will need to register a YubiKey to be able to log in to the Customer Portal.
Activating User Accounts
Note
If your organization has Single sign-on (SSO) enabled, new users do not have to activate their account. Users are immediately added to the organization in the Active state and can use the SSO service-provider-initiated login link to log in to the Customer Portal. See Authenticating with SSO.
Activating your account is only needed if you are logging in to the Customer Portal for the first time as a new user. When a Console Owner in your organization has created your user account in the Customer Portal, you will receive an account activation email from Yubico. You will need a YubiKey to log in and activate your account.
To activate your account and log in to the Customer Portal for the first time, do the following:
Have your YubiKey ready and click the Activate your YubiKey as a Service account link in the activation email from Yubico.
In the authentication dialog that opens, click Request code. A one-time access code is sent to the email address associated with your Customer Portal account.

Note
When you submit the one-time code, you have three chances to submit a correct code, otherwise you will be locked out for 15 minutes before you can retry again. The lockout is associated with the invitation, attempting to log in from a different device will not work.
Enter the provided access code in the authentication dialog.
In the setup dialog that opens, click Activate Account. When prompted, tap your YubiKey and provide the PIN associated with the YubiKey
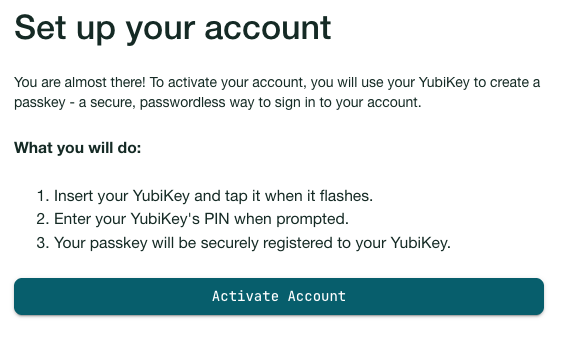
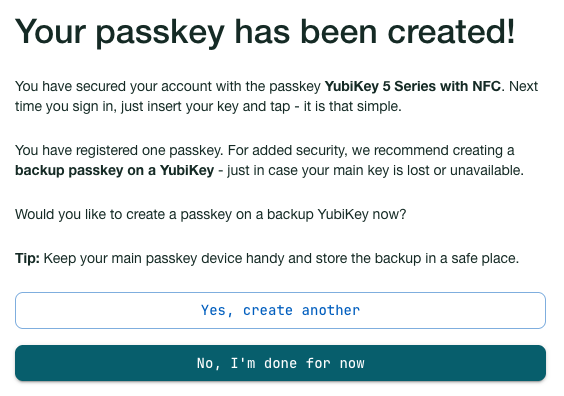
A passkey is created on the YubiKey, and a passkey confirmation dialog is displayed. A notification with details about the registered YubiKey is sent to the email address associated with your Customer Portal account.
You will be prompted to register an additional YubiKey as a backup to avoid losing access to the Customer Portal if the original key is lost. This can be done at any time. Click Yes, create another to register a spare YubiKey and follow the instructions. Click No, I’m done for now to continue without registering a spare key.
To activate your account, you will be prompted to log out and in again using the newly registered YubiKey. Follow the instructions to log in.
In the YubiKey as a Service Acceptance Use Policy dialog, click I agree to continue.
You will be taken to your organization’s Home page which provides an overview of available inventory, and recent shipments and purchase orders.
You are now ready to start working in the Customer Portal! To begin, see the Getting started section.
API Caller Accounts
If you are building integrations that will be calling the YubiEnterprise API, you will need to create an API caller user account and generate an associated API token for authentication purposes. Creating the user account and generating the API token is done in the Customer Portal. For more information, see API Caller Account Setup.
Channel Partners
Yubico channel partners can use the Reseller and Distributor views in the Customer Portal to see what was sold to associated end customers, monitor their inventories, and provide access to purchase order information.
To onboard as an account owner for a channel partner organization, follow the procedure for Onboarding as First User. When adding more Customer Portal users for your organization, you then assign the Reseller or Distributor role to those specific users that need access to the Reseller and Distributor views. For more information, see Creating and Removing Users.
